The UT transducer can enable and/or optimize the examination.
This edition’s feature story includes solving an important application for an aerospace customer who wanted to improve the inspection productivity for safety-critical drive train coupling discs. The customer sent Mr. Dane Hackenberger, SNI’s senior UT application engineer, samples of the components that included #1 (1/64” or 0.0156”) and #3 (3/64” or 0.0468”) diameter flat-bottom hole (FBH) reference standards. The FBHs were 10 mm (0.397”) from the surface and in the zone of the component’s electron beam weld.
The customer was already using conventional pulse-echo UT and wanted to see what kind of productivity gains could be achieved using phased-array UT transducers, improved fixturing and instrumentation.
Other goals of the project were:
1. Simplicity: In this case, more sophisticated PAUT equipment resulted in making the test process simpler, faster, and easier to execute.
2. Reliability/ Repeatability – The Probability of Detection (POD) of very small anomalies was easily attainable.
3. Replacing an underwater test system, requiring precise alignment of various components with a “self-aligning and dedicated fixture” also benefits reliability and repeatability of a test of these critical aerospace drive-train components.
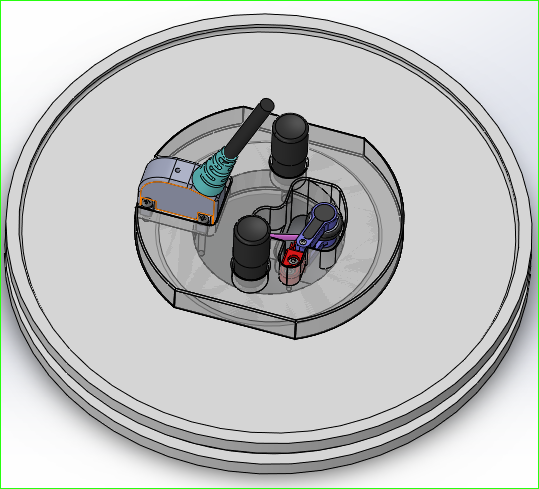
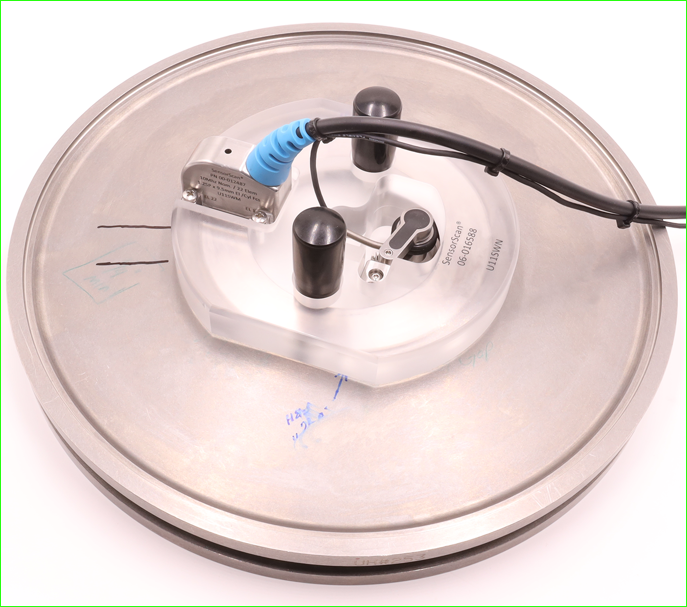
SolidWorks design (top) and actual part with rotary scanner.
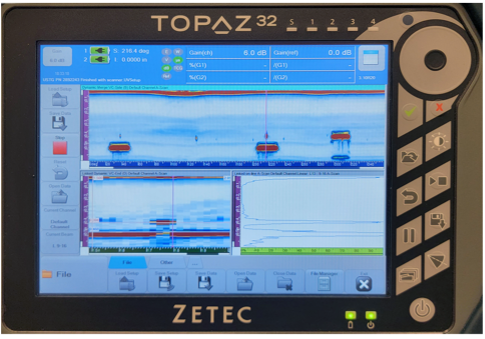
Merged B-Scan image of #1 FBH (left), actual defect (middle) followed by #3 FBH (right)
SolidWorks transducer details
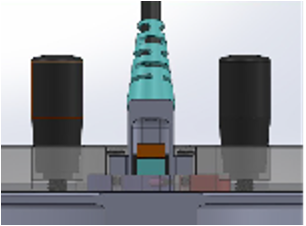
The end result was the fabrication of a small & compact rotary-scanning fixture that includes a highly customized phased-array transducer, radial encoder and PAUT instrument. The transducer was a 22-element mechanically focused (x axis) linear array. The PAUT instrument allowed for electronic focusing (y axis) to create a very small (~ 1 to 2-mm dia.) beam spot size at the weld zone to easily locate and image the anomaly.
Please contact Dane Hackenberger if you have an application looking for a better solution:


