GO SMALL OR GO HOME
Ultrasonic Inspection Transducers are available in various sizes, making up thousands of high-performance combinations. Sometimes, inspection in difficult-to-access areas, small parts, and complex geometry applications may seem impossible. Small or large components with tight access ports such as gas turbines, tube or shell-side heat exchangers, and internal combustion engines all have this in common. Sometimes it is literally “Go Small…or Go Home” in these applications!
Over the past several decades, SNI’s highly experienced application engineers have developed the know-how and creativity to design and develop small custom transducers for unusual, demanding, and complicated applications. We have dozens of examples – here are just a few.
1. Miniature Transducers
The examples below can be used independently or can be mounted in inspection fixtures, bore probes, and other transducer manipulators by the end user.
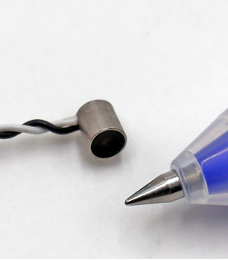
Miniature Focused Transducer
.125″ (3.2mm) O.D. x .160″ (4mm) Long
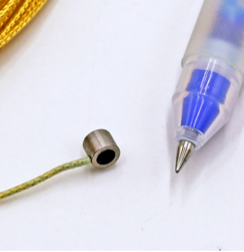
Miniature Non-Focused Transducer
.160″ (4mm) O.D. x .160″ (4mm) Long
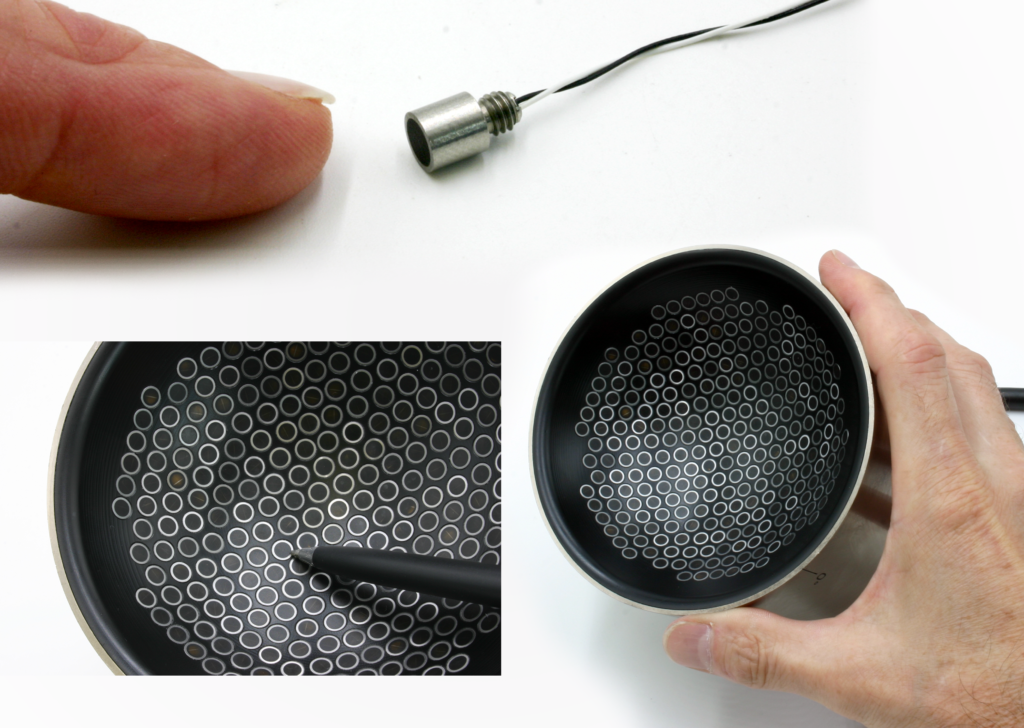
10Mhz/.125” Miniature “Thread In” Transducer – used to create the 253 transducer Spherical Array shown.
2. THIN TRANSDUCERS
Sometimes a standard transducer performs perfectly…but it is just too thick / too tall to fit where you need it to go. A simple “Thin contact probe on a stick” that could reach where the customer needed to inspect enabled his inspection!
- Standard Version: .66” High with no handle
- Custom Thin Version: .187” high with 6” handle
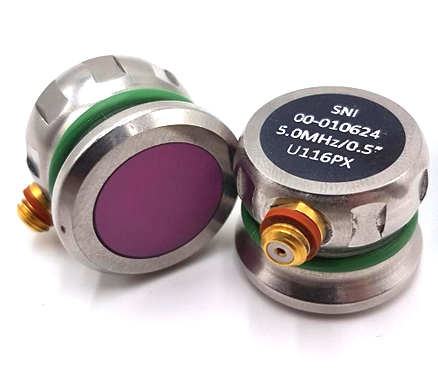
Standard Contact Transducer
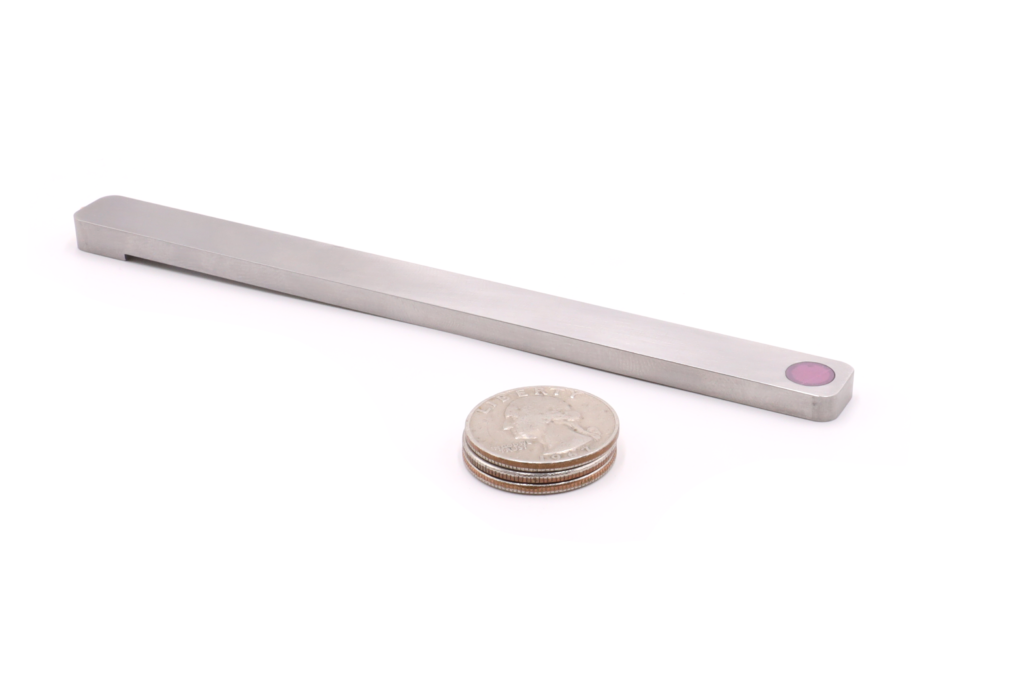
Thin Contact Transducer to Reach Tight Areas of Interest

.062” (1.58mm) Thick Transducers are aligned in through transmission for inspection of diesel piston rings.
3. ULTRA-THIN TRANSDUCERS
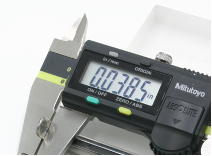
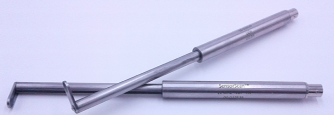
This customer needed to test for potential defects in a weld by inserting a probe into a slot .050” (1.2mm) high. The solution was a Transducer .0385” Thick (just under 1mm thick !)
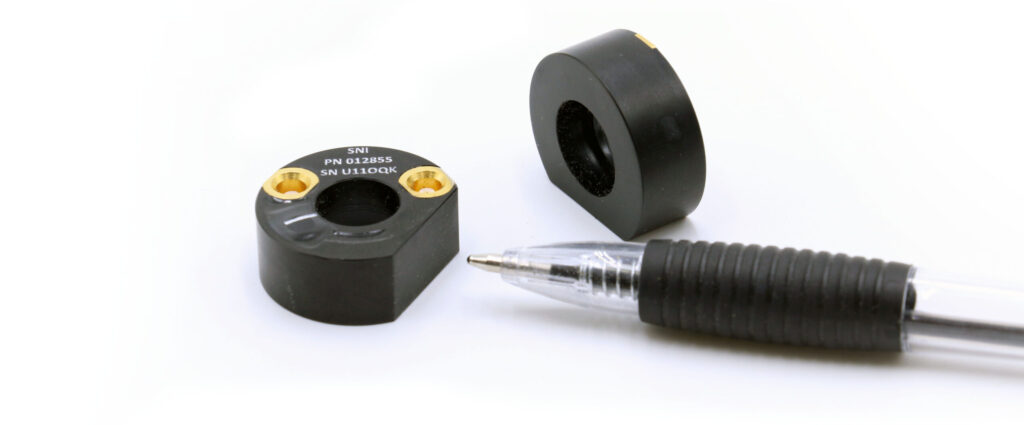
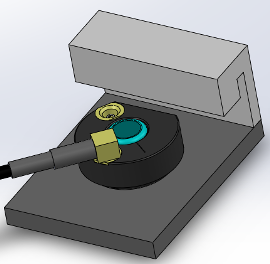
This .350” Thick (8.9mm) Transducer incorporated a built-in 5Mhz transducer, a 185” thick acoustic delay line (4.7mm), and a fixture to align it with a composite fastener for delamination inspection around the fastener holes.
4. IN SITU INSPECTION ENABLED BY SMALL TRANSDUCERS
Goal: Detect small circumferential cracks in the wrist-pin end of the connecting-rod bearing of a large internal combustion engine without disassembly of the engine.
Significant Engineering is involved in designing the transducer head with a sensor that is focused on the task.
Miniature Custom Transducer Requirements:
- Acoustic & Mechanical Design
- Fit in the small gap (~.25”) between the piston skirt and connecting rod.
- Self-Alignment – With manual pressure applied.
- Contain 5 Miniature, Unique Curved Piezoelectric UT elements.
- Have a pivoting wand/handle that allows the inspector to access the area of inspection.
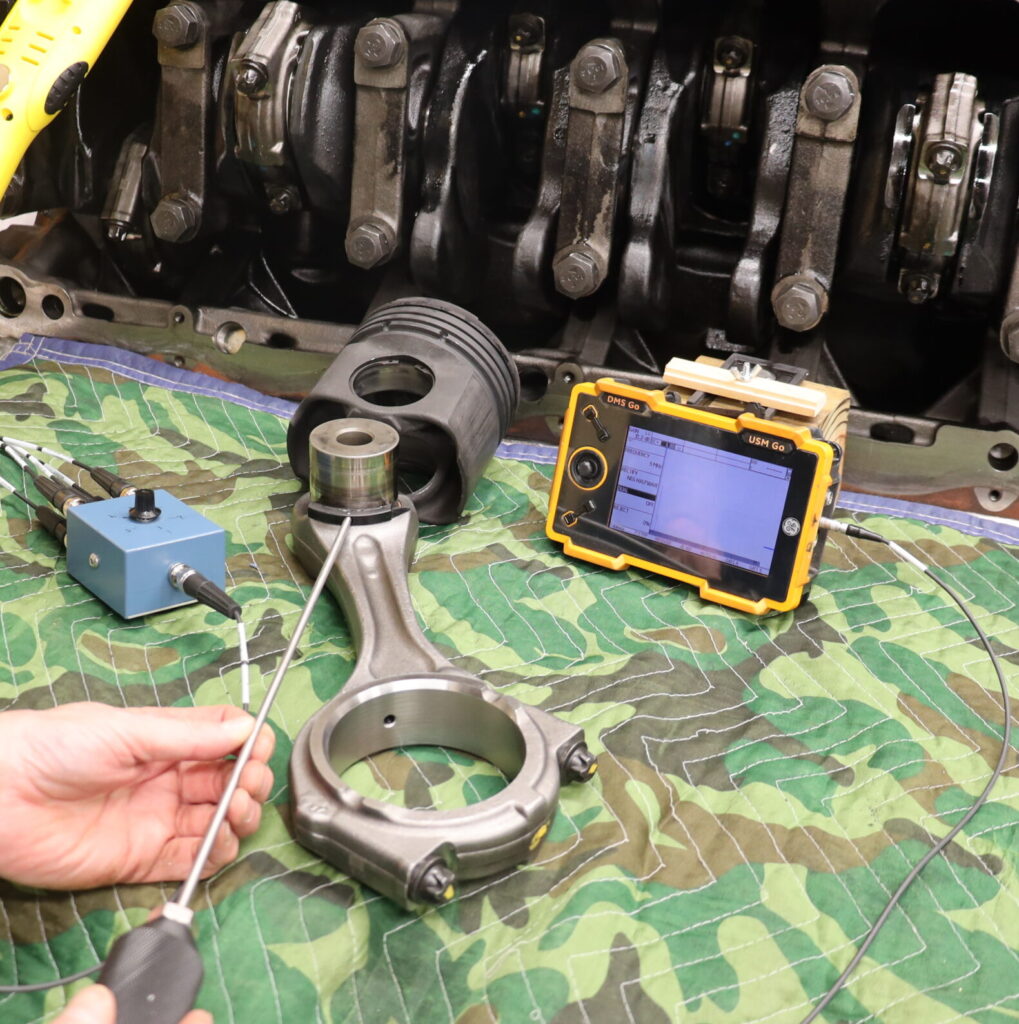
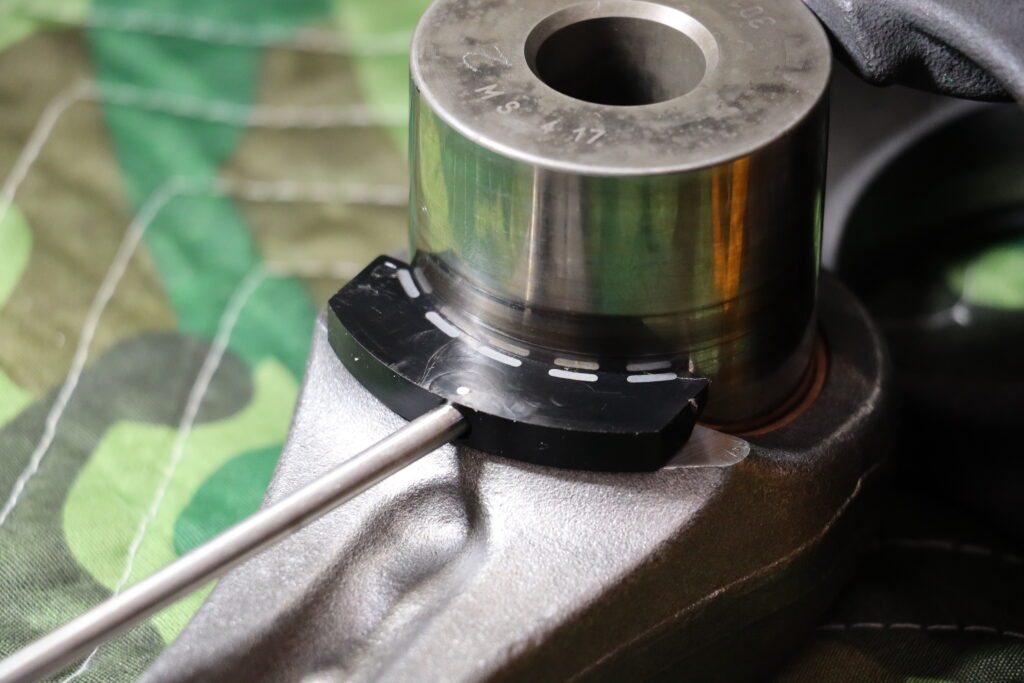
5 Element Application Specific Transducer
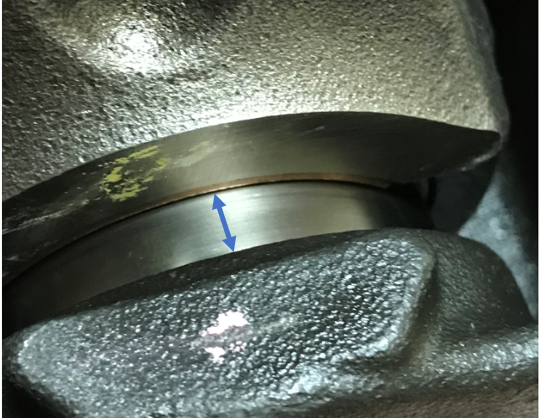
1/4″-Wide Access Space for Transducer
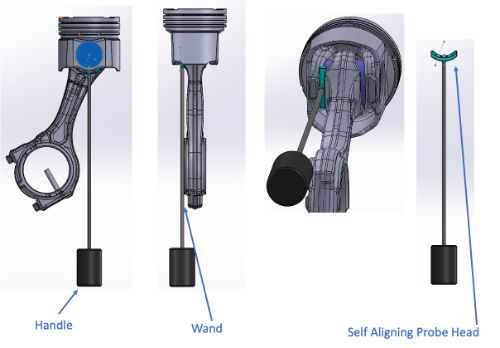
SolidWorks Transducer Details
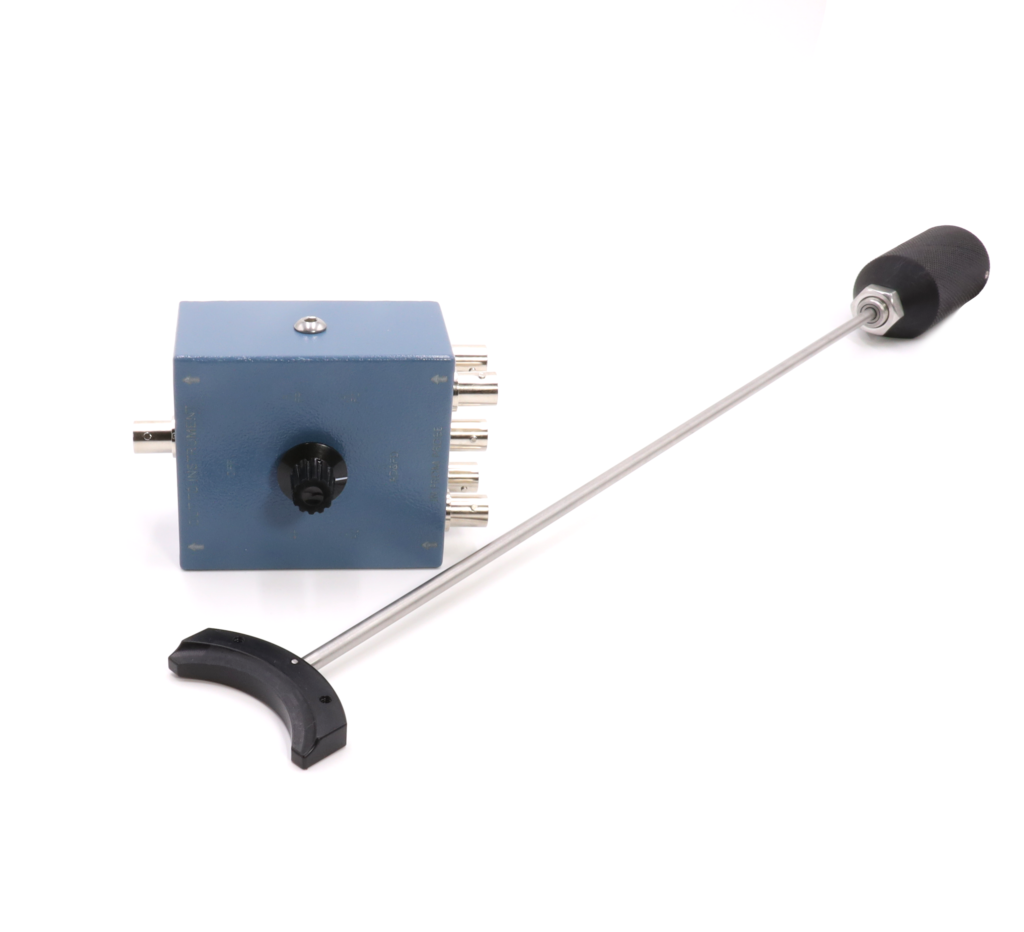
In this example, the 5 element application-specific miniature ultrasonic transducer enabled an In-Situ inspection that otherwise would have required major engine disassembly.
Do you need to “Go Small”? If you have a challenging application looking for a creative solution, please contact:


